Choosing the right K&S Wire Bonder requires more than comparing model numbers or advertised speed. In a production line, the machine must match the package type, wire material, bond layout, and operator skill. A bonder that performs well on fine aluminum wire may not deliver the same stability with thick copper wire. Small differences matter.
A practical evaluation should begin with bond quality. Inspect pull strength, shear results, loop height, wire sweep, and first-pass yield. Then examine ultrasonic power control, bonding force, clamping accuracy, and motion repeatability. These details become visible during long production runs, especially when temperature and humidity change. Ask for sample bonding with your actual lead frames and substrates. A showroom demonstration is useful, but it is not enough.
Throughput also deserves careful attention. Check indexing time, recipe changeover, software usability, preventive maintenance, and spare-parts availability. Experienced engineers often review service records before approving a purchase. That step can reveal recurring alignment or calibration issues. No machine wins every package. This assumption can fail.
The best K&S Wire Bonder should support your current products while leaving room for future package designs. Consider training, remote diagnostics, local technical support, and the total cost of ownership. A lower purchase price may become expensive when downtime increases. Document every test result, including failed bonds and operator feedback. Honest evaluation is more valuable than polished promises. With measurable criteria and realistic trials, buyers can select equipment that delivers consistent bonds, dependable output, and safer long-term production decisions.
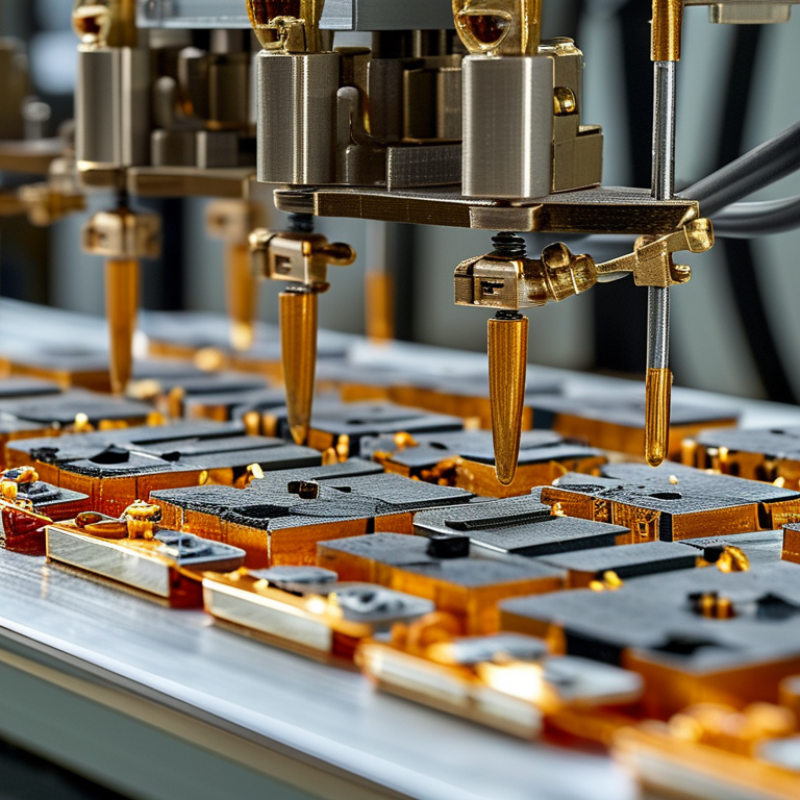
Understanding wire bonder types begins with the package, not the machine name. Ball bonders suit fine-pitch connections on memory, logic, sensors, and many compact devices. Wedge bonders handle aluminum or copper wire well, especially in power modules and automotive packages. Ribbon bonders provide broad, low-resistance connections for high-current designs. Ultrasonic bonding can reduce thermal stress, while thermosonic bonding supports fine gold or copper wire work.
Application details should guide the evaluation. Check wire material, diameter, pad pitch, loop height, bond force, and substrate finish. A power module may need thick wire and strong pull-test results. A small sensor may need accurate loop control and minimal pad damage.
High-volume factories also compare UPH, recipe change time, vision accuracy, and maintenance access. Small details matter.
Industry data supports this wider view. WSTS forecast global semiconductor sales at 611 billion dollars in 2024, with automotive and computing remaining major demand areas. SEMI’s World Fab Forecast continues tracking extensive global capacity expansion, increasing pressure on packaging productivity.
Yet higher output does not automatically mean better bonding. A fast machine can create more rejects if capillary wear or contamination goes unnoticed. I would not choose from specifications alone. Run representative samples, review wire pull and shear data, and test several operators. The “best” bonder may look imperfect during trials, but its process window should remain stable.
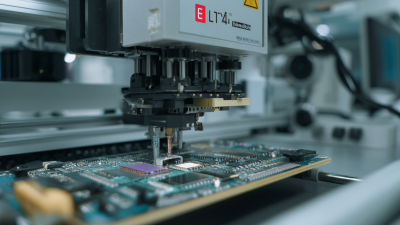
Choosing a wire bonder begins with the package, not the machine brochure. Define the device type, pad layout, lead design, and expected wire material. Copper, gold, and aluminum wires require different bonding energy and handling methods. Record wire diameter, bond pitch, loop height, and stitch length. Start with the package.
Your technical requirements should match actual production conditions. Check bonding accuracy, ultrasonic power control, clamp movement, and programmable bonding force. Vision alignment must detect small pad shifts and surface variations. For fine-pitch work, ask for repeatability data, not only resolution figures. Confirm die size, leadframe range, feeder compatibility, and target units per hour. Throughput is useful only when bond quality remains stable.
During evaluation, run sample lots using your real materials and process window. Inspect pull strength, shear results, loop shape, and heel cracks. Review alarms and recipe traceability. These details reveal weaknesses that a demonstration can hide. A polished trial is not enough. Let operators test loading, cleaning, and changeover time. Maintenance access also affects long-term output. I would leave room for adjustment, because initial settings are rarely perfect. Measure twice. Then challenge the assumptions. A reliable selection combines verified data, trained users, and documented limits rather than impressive specifications alone.
Choosing a wire bonder starts with production evidence, not a catalog headline. In hands-on evaluations, I watch bond placement across a full shift, not only the first ten samples. Measure cycle time, bond pull strength, loop height, and reject rates. A fast machine is not useful if temperature drift weakens late-run bonds. Small detail. Record it.
Compatibility deserves equal attention. Confirm wire diameter range, material support, package dimensions, clamp access, and substrate flatness. Check whether existing fixtures fit without costly redesign. Review software interfaces, recipe storage, error codes, and data export options with your process engineer. A machine may meet specifications yet struggle with your actual leadframe, adhesive, or surface finish. Request a sample run using production materials. Keep the settings and failed units. They reveal more than a polished demonstration.
Automation features should remove repetitive decisions, not hide process variation. Useful systems include vision alignment, automatic wire threading, tool-height monitoring, recipe control, and traceable inspection records. Verify recovery behavior after a misfeed or sensor fault. Can an operator correct it safely and resume the lot? Also compare training time, spare-part access, calibration routines, and remote support response. My own selection mistake was valuing peak throughput over changeover simplicity. That choice slowed smaller batches. Reconsider the workflow before approving the purchase.
How to Choose the Best Wire Bonder: Operating Costs, Maintenance, and Supplier Support
Purchase price rarely reflects the real cost of wire bonding. Track wire waste, capillary replacement, calibration labor, energy use, software fees, and planned downtime. The U.S. Department of Energy’s Operations & Maintenance Best Practices Guide reports that predictive maintenance can reduce maintenance costs by 8–12%. It also indicates that breakdowns may fall by up to 70%. Ask suppliers for service records, not attractive promises.
Measure maintenance with specific production data. Request mean time between failures, mean time to repair, spare-part availability, and remote diagnostic response. A machine stopping beside a cleanroom line can consume far more than one replacement part. The 2024 Smart Manufacturing and Operations Survey found that 86% of manufacturing leaders view smart manufacturing as a major competitiveness driver within three years. Therefore, software logs and condition monitoring deserve careful review.
Supplier support can decide whether a machine earns its place. Require training for operators, documented calibration procedures, and clear escalation contacts. Define response times in writing, including weekends and regional holidays. A supplier with local engineers may reduce travel delays. However, local presence alone proves little. Review technician certifications and actual case histories.
Even a careful spreadsheet can lie. It may ignore rejected lots, learning curves, or slow engineering support. Build a twelve-month cost model using your own wire diameter, package mix, yield, and shift pattern. Then test the assumptions against a supervised production trial.
Choosing the best wire bonder starts with your production goals, not with the machine’s advertised speed. Define your wire diameter, package size, bond type, and daily output. A laboratory line may value flexibility, while high-volume production needs repeatable motion and short cycle times. Check whether the bonder supports your materials, including gold, copper, or aluminum wire. Compatibility matters more than impressive specifications.
In practical evaluations, inspect bond strength, loop height, placement accuracy, and recipe repeatability. Ask for sample runs using your actual substrates. A machine that performs well on a demonstration package may behave differently on your production parts. I have seen teams choose higher speed and later struggle with unstable bonding. Faster is not always better. Review maintenance access, spare-part availability, software controls, and operator training. These details affect real uptime.
Tips: Measure yield before purchasing. Compare cycle time with changeover time. Test delicate pads and tight pitches. Record pull-test results across several batches. Leave room for future package designs. Also, challenge your assumptions. A slightly slower bonder with steadier results may reduce rework and operator adjustments. Do not overlook documentation. Clear alarms, saved recipes, and traceable process data can protect consistency when experienced technicians are unavailable.